Setup and Installation of Floating Speakers
Key Takeaways
- Understand the components needed for installation.
- Follow a step-by-step process for easy setup.
- Ensure proper positioning for optimal sound quality.
- Learn maintenance tips for longevity.
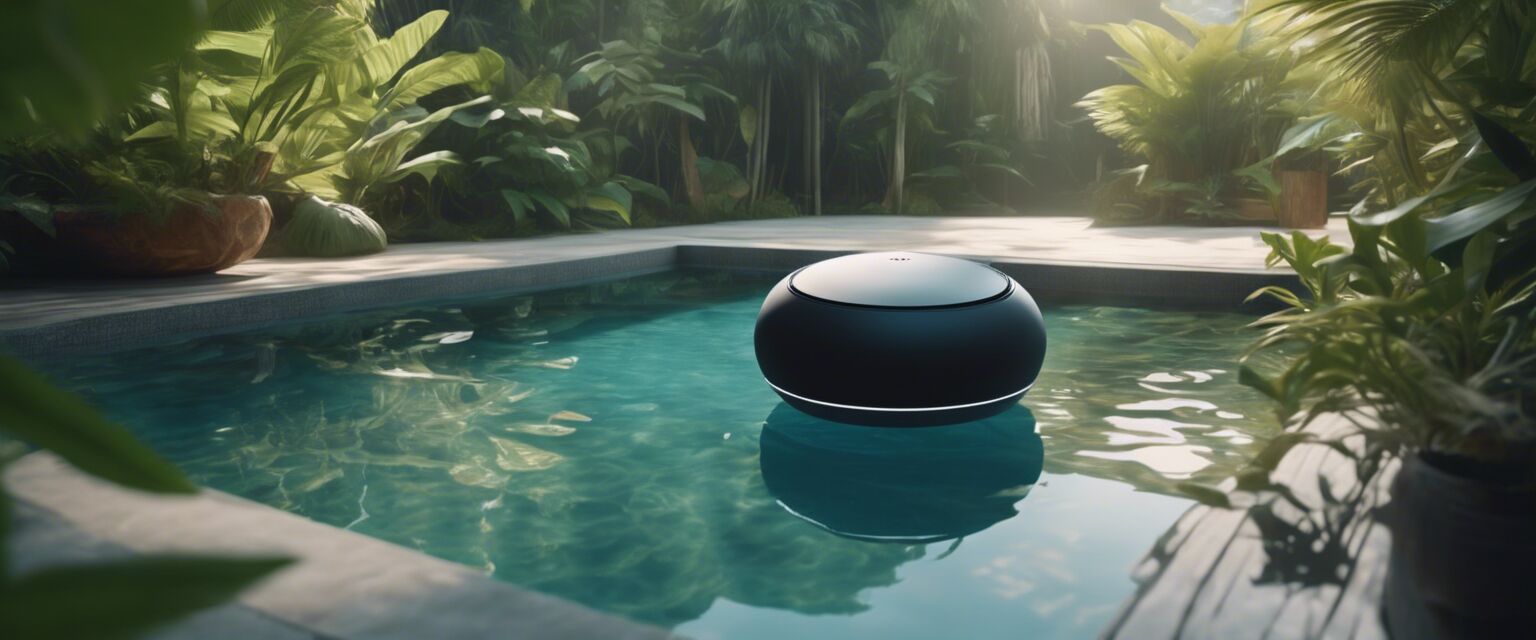
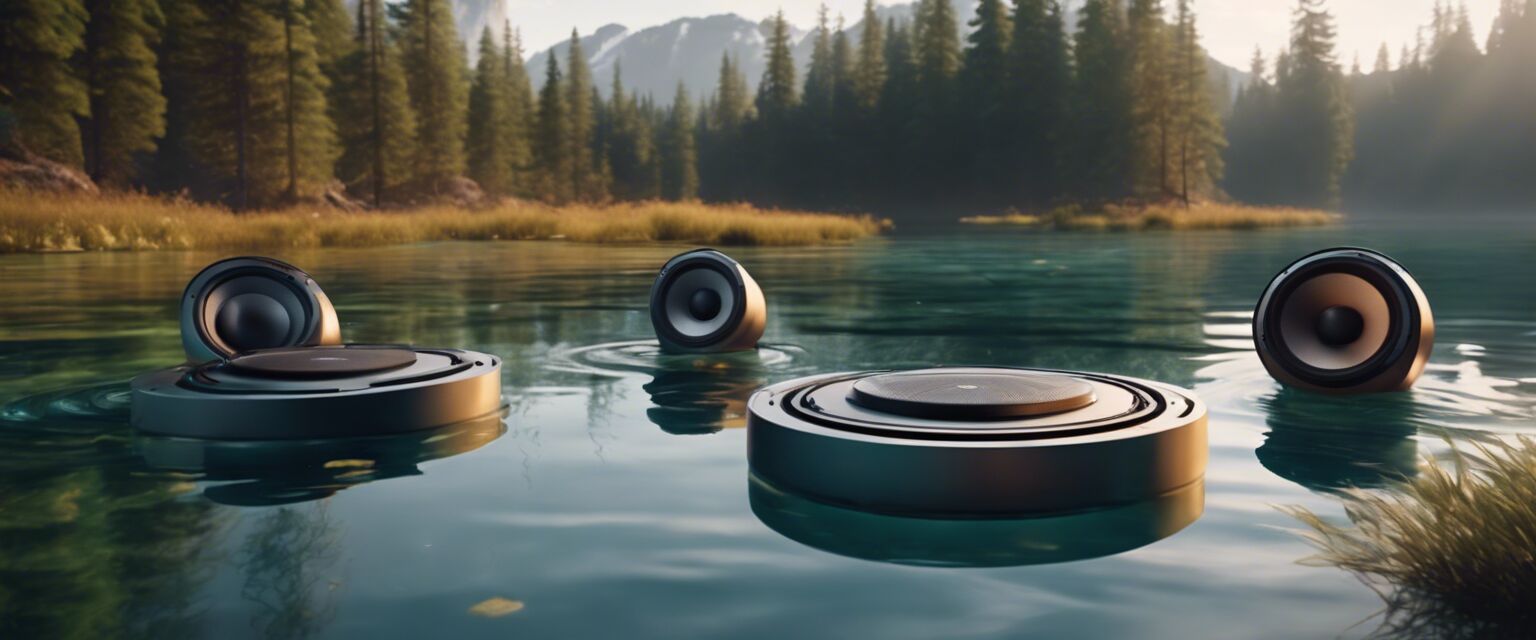
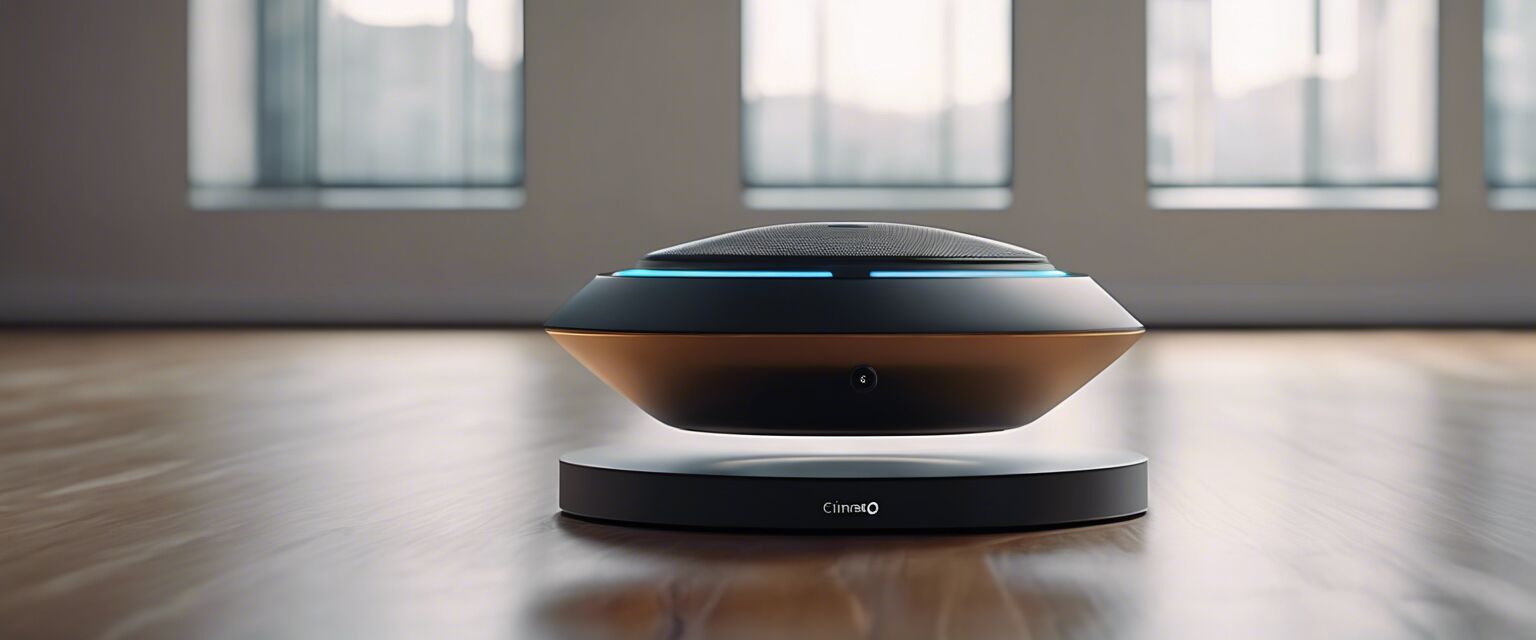
Floating speakers are a fantastic addition to any pool party or outdoor adventure, providing an immersive audio experience. Setting them up can seem daunting, but with this step-by-step guide, you will be able to install your floating speakers with ease. Letâs dive into the setup process!
Components Needed for Setup
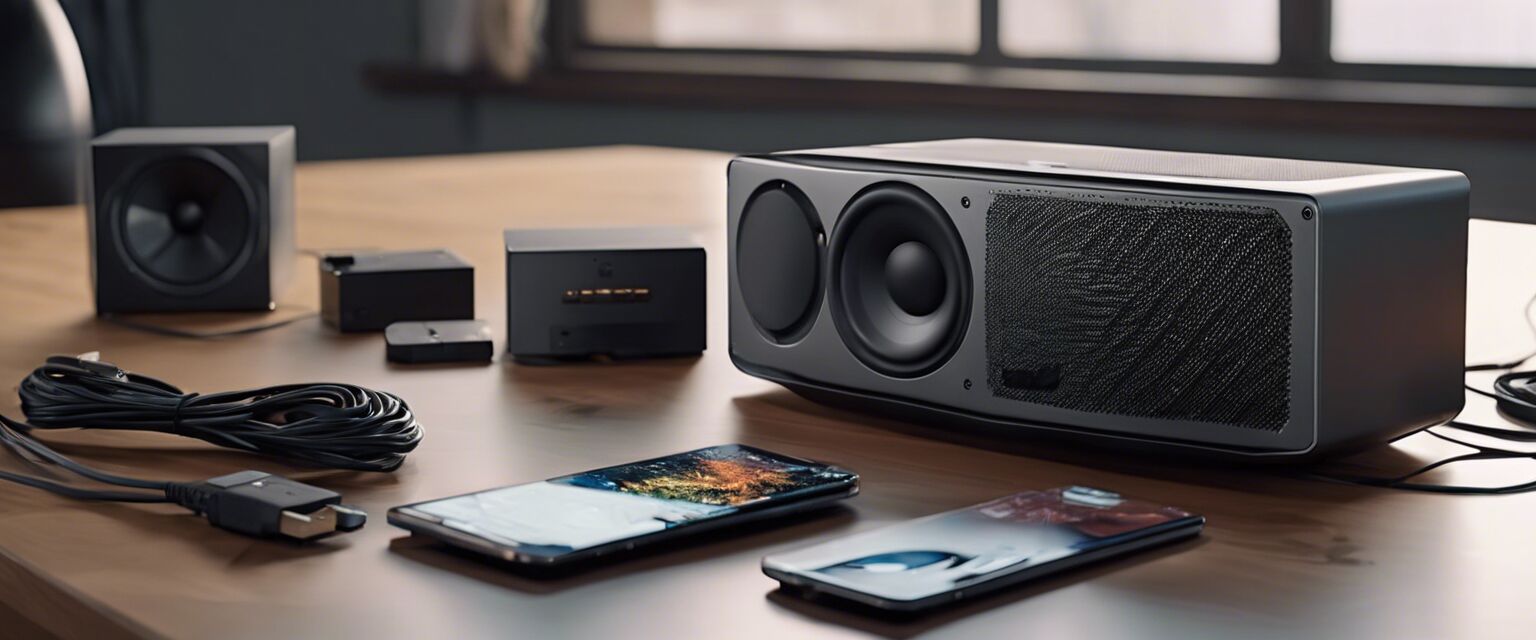
Before you begin, gather the following components:
- Floating speakers
- Bluetooth-enabled device (smartphone, tablet, etc.)
- Power source (if applicable)
- Charging cables
- Optional: Speaker stands (for non-floating use)
Step-by-Step Installation Guide
Step 1: Unboxing Your Floating Speakers
Carefully unbox your speakers and check for any damage during shipping. Ensure all components are included as per the user manual.
Step 2: Charging Your Speakers
Before using your floating speakers, ensure they are fully charged. Follow these steps:
- Connect the charging cable to the speaker.
- Plug the other end into a power outlet.
- Allow the speakers to charge for the recommended time.
Step 3: Connecting to Your Bluetooth Device
Once charged, itâs time to connect your speakers to your device:
- Enable Bluetooth on your device.
- Turn on your floating speakers.
- Look for your speakers in the list of available devices and select them.
- Confirm the connection if prompted.
For more information on Bluetooth connectivity, check out our guide on Bluetooth floating speakers.
Step 4: Positioning Your Speakers
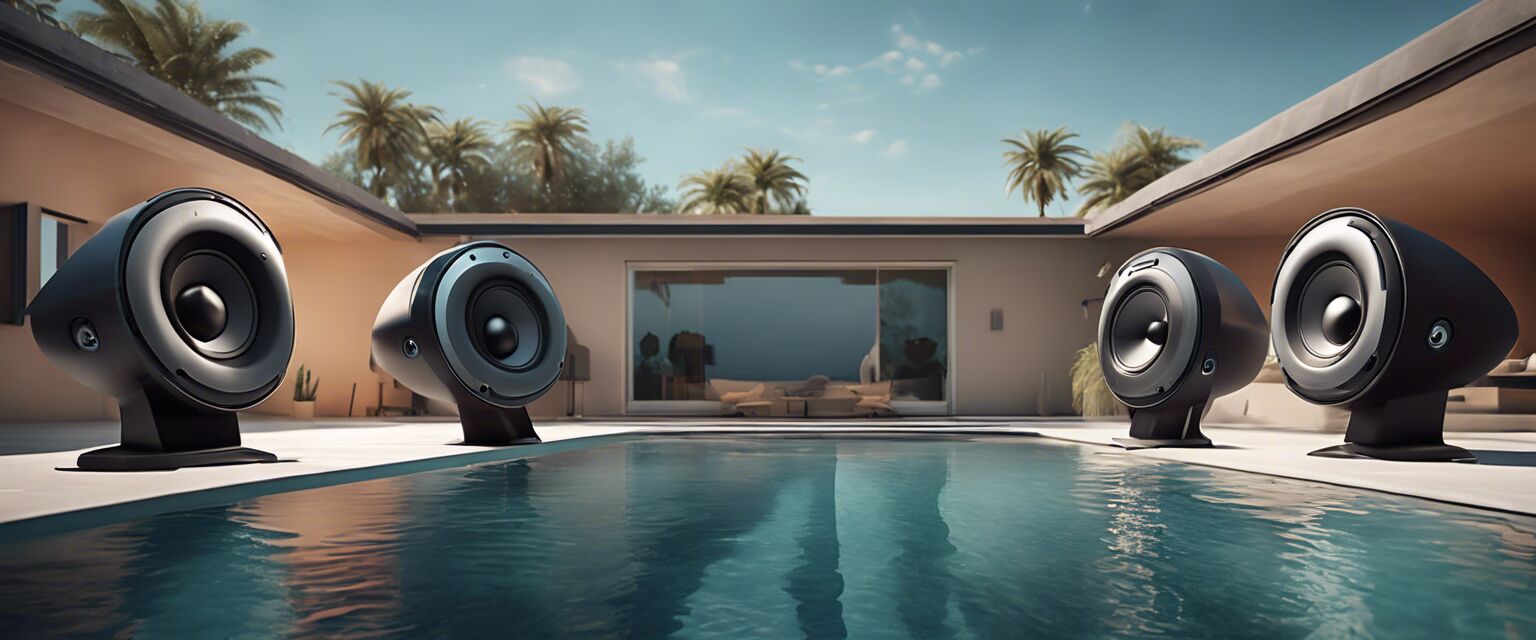
To ensure optimal sound quality:
- Place the floating speakers in a pool or water body.
- Avoid placing them too close to walls or obstacles.
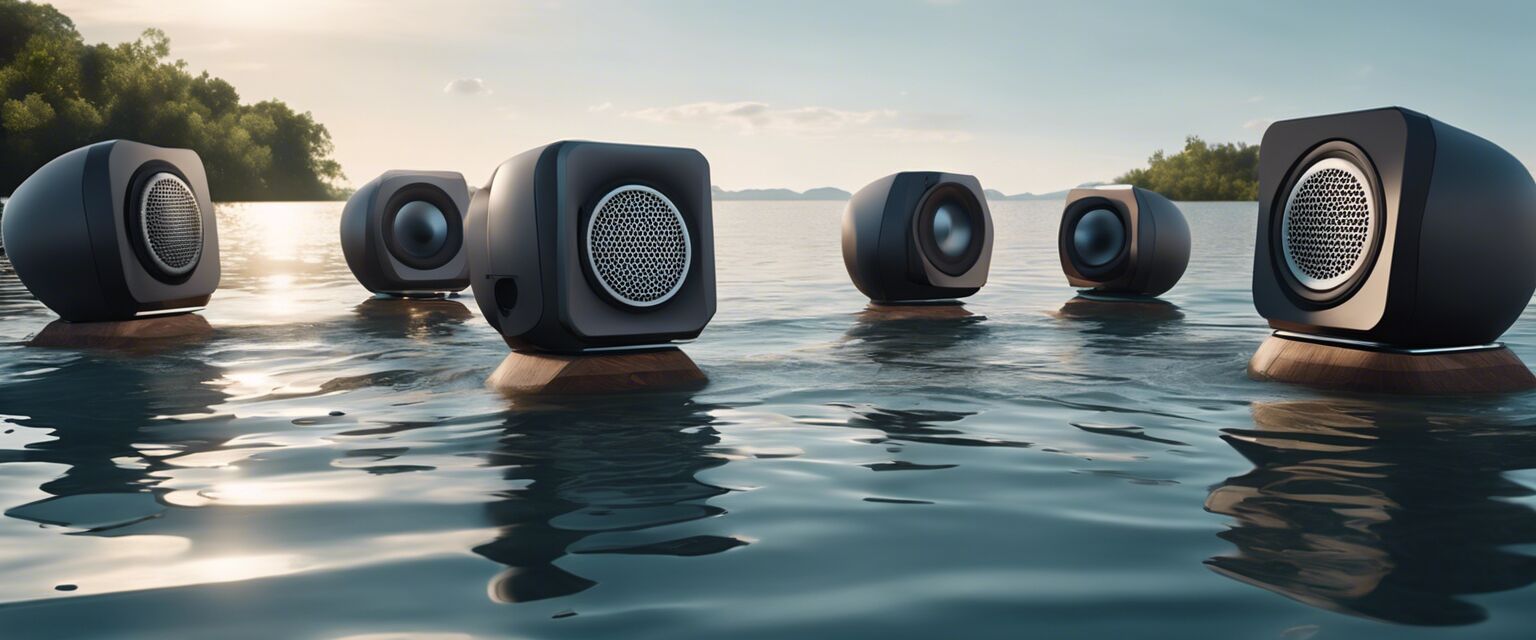
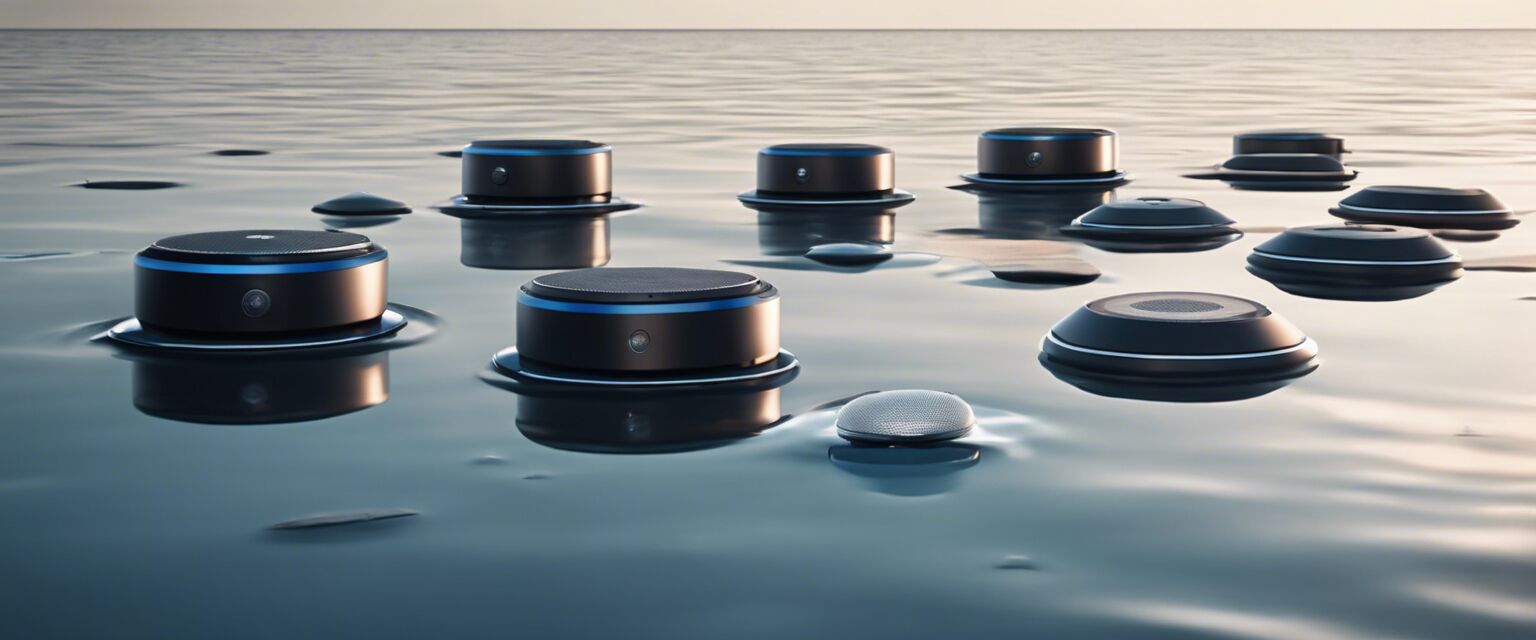
- Ensure they are evenly spaced for balanced sound distribution.
Step 5: Testing the Sound
After positioning, itâs time to test the sound:
- Play your favorite music or audio.
- Adjust the volume to your preference.
- Move around to check for sound consistency.
Maintenance Tips
To ensure the longevity of your floating speakers, consider the following maintenance tips:
- Rinse with fresh water after use in saltwater or chlorinated environments.
- Store in a cool, dry place when not in use.
- Regularly check for software updates if applicable.
Pros
- Easy to set up and install
- Portable and versatile for various settings
- Waterproof designs available
- Enhanced sound experience for outdoor activities
Cons
- May require regular charging
- Limited battery life under constant use
- Sound quality may vary based on positioning
Conclusion
Setting up and installing floating speakers can greatly enhance your outdoor experience. By following these simple steps and maintenance tips, youâll enjoy high-quality sound wherever you go. For more options and styles, explore our decorative floating speakers or our outdoor floating speakers collections.
